Mission 27: Frozen in Time — Photos, Artifacts & Oral History
There’s a face in the photograph and nobody alive remembers the name. Granny has bad news and good news about that — and we’ll start with the good.
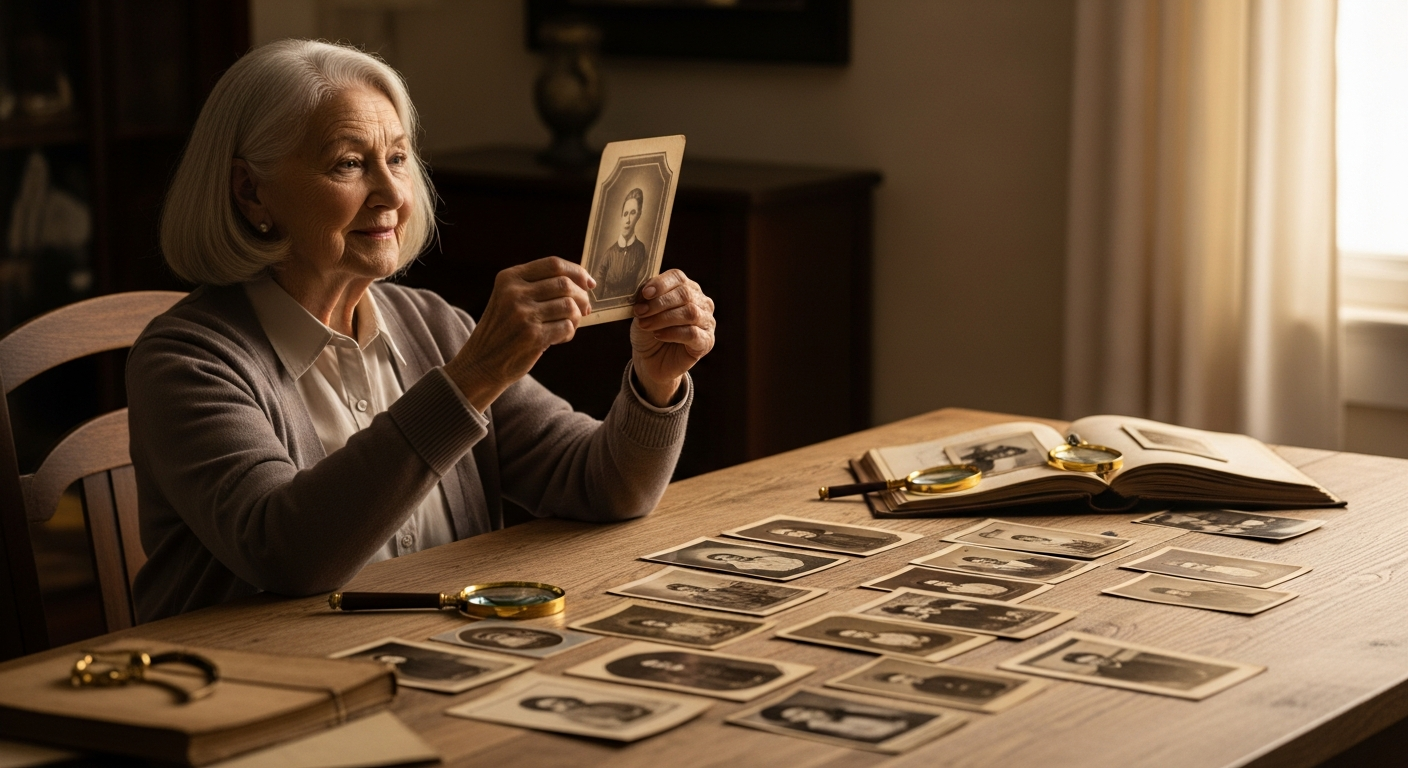
You’ve seen this picture. We all have one. A stiff little portrait that surfaces from the bottom of a drawer or the depths of the biscuit tin, edges soft with age, and a person staring back who clearly belongs to us — the family nose, the family eyebrows, the family refusal to smile for a camera. But the name is gone. The aunt who knew it is gone too, and she took the answer with her. For twenty-six missions we’ve taught you to chase paper: census sheets, wills, deeds, parish registers. This time we’re putting the paper down and picking up the photograph.
Here’s the good news. That photograph is not silent. It is, in fact, a chatterbox — it’s just speaking a language nobody taught you yet. The clothes, the hairstyle, the very material the image is printed on, the cardboard it’s glued to — every one of those is a clue with a date stamped on it, if you know how to read it. So pour the tea, agents. We’re going to teach a photograph to talk.
Read the Format First
Before you squint at a single button or hairdo, turn the photograph over in your hands and ask what it actually is. The format — the physical technology of the image — is your single biggest date anchor, because each kind of photograph was only popular for a particular window of years.
Start at the beginning. A daguerreotype (the granddaddy, popular roughly 1842 to 1856) is an image on silvered copper that shimmers like a mirror and flips between positive and negative as you tilt it in the light. It lives in a little hinged case, like a tiny book. Its cheaper successor, the ambrotype (about 1854 to 1865), looks similar in its case but is printed on glass and has no mirror shimmer. Then comes the workhorse of the frontier and the family album: the tintype (from 1856 well into the 1900s), an image on a thin sheet of iron. Here’s Granny’s favorite party trick — a magnet sticks to a tintype. Genuinely. Go try one.
After that we move onto card. A carte de visite — French for “visiting card,” and yes, we’ll just call it a CDV — is a small albumen print, about two and a half by four inches, mounted on thin card, popular roughly 1859 through the 1870s. Its bigger cousin the cabinet card (about 1866 to 1906, peaking 1870 to 1895) is the larger one, around four by six and a half inches, that filled every Victorian parlor album. And finally the real photo postcard, or RPPC — an actual photographic print with a postcard back, common from about 1903 into the 1930s. If your mystery photo can be sorted into one of these buckets, you’ve already narrowed it to a few decades. That’s triage, and triage comes first.
Read the Mount and the Clothes
Now we refine. Two more clue-classes will pin your decade down to just a few years.
First, the mount — the card itself. Card stock got heavier and fancier over time, so the cardboard is evidence too. The quickest tell is the corners: rounded corners point to roughly the 1870s through 1900, while square corners arrived after about 1900. Border colors, gilt edges, and the photographer’s printed imprint — the studio name and town along the bottom — all narrow the window further. That imprint is a gift, by the way: cross-reference the studio’s town against the city directories we met in earlier missions and you can sometimes catch the exact years that photographer was in business. For postcards, hunt down the little stamp box in the corner where the stamp would go. Kodak’s AZO paper with four upward-pointing triangles dates to about 1904 to 1918; AZO with little squares in the corners shifts you to roughly 1925 to the 1940s. Other paper brands — VELOX, SOLIO, CYKO — carry their own date signatures, all looked up in a free online chart.
Second, the clothes and hair. Fashion changes faster than camera technology, so it sharpens your estimate to within a handful of years. For women, the sleeve is the single best indicator — narrow through the 1890s, then ballooning out before tapering again, with fuller flounced sleeves around 1905. High choker collars hung on through about 1910, and the full sweeping pompadour hairstyle marks the Edwardian moment squarely. Two cautions, and Granny means these. People wore their clothes for years — older women especially kept wearing the styles of their youth, bless them, long after the fashion plates moved on. And rural or poorer families always ran behind the trend. So treat fashion as a “no earlier than” floor — a reliable earliest-possible date — rather than an exact year. The photograph can’t have been taken before the dress existed, but it certainly could have been taken a decade after Grandma bought it.
Save What You’ve Got
Once a photograph has finally told you its secrets, do not put it back face-down under the Christmas lights. (We all do this. Granny is not naming names, mostly because the name is hers.)
Handle originals with clean dry hands, or cotton or nitrile gloves, and hold them only by the edges. Store them in acid-free — that means lignin-free — sleeves, folders, and boxes, kept somewhere cool, dry, dark, and stable, away from sunlight and the swampy summer attic. Then make a digital copy, because the safest photograph is one that also exists in three other places. Scan flat on a flatbed scanner, never one of those roller-fed machines that wants to chew an heirloom. Scan prints at 300 DPI — DPI just means dots per inch, the measure of detail — or 600 if you plan to enlarge them. Negatives and slides need much more: 2,000 to 4,000 DPI. And resist the urge to “fix” the original at scan time. Capture it honestly, then edit a copy. If a photo is badly damaged, the new crop of AI restoration tools can repair cracks and faded faces surprisingly well — but always on a copy, never the only file you have.
Capture the Story
A dated photograph is wonderful. A dated photograph with a voice behind it is priceless — and that’s the part racing against the clock.
So this month, interview someone. It doesn’t take a studio. The oral-history folks at StoryCorps, the Smithsonian, and the Oral History Association all agree on the basics: a quiet room, a phone with a decent microphone or a small recorder, and a short list of open-ended questions. Go in roughly chronological order, ask “what was it like?” and “tell me more,” then — and this is the hard part for talkers like us — listen without interrupting. Never push someone past what they’re comfortable sharing. One detail matters before you hit record: get a simple signed consent-and-release note, in plain language, so you’re free to keep, transcribe, and someday share what they tell you. Set that down first, gently, then begin. Afterward, free tools like OpenAI’s Whisper will transcribe the whole recording automatically, turning that voice into searchable text — and every name, date, and place in it becomes a brand-new research lead.
Your Mission
Two parts this month, agents.
First, pick one unlabeled photograph — the mystery face, the nameless wedding, that haunting child in the hat — and date it using at least two of our clue-classes. Format and mount. Sleeve and stamp box. Write the estimated decade on an acid-free slip and tuck it alongside, never on the back of the print.
Second, schedule one short interview with the oldest willing person in your family. Twenty minutes. A few good questions. A signed slip of paper and the record button. Do it this month, not someday — because someday is precisely the thing this mission is about.
GRANNY SAYS: A photograph keeps the face; a voice keeps the story — so ask now, while there’s still someone in the room to answer.