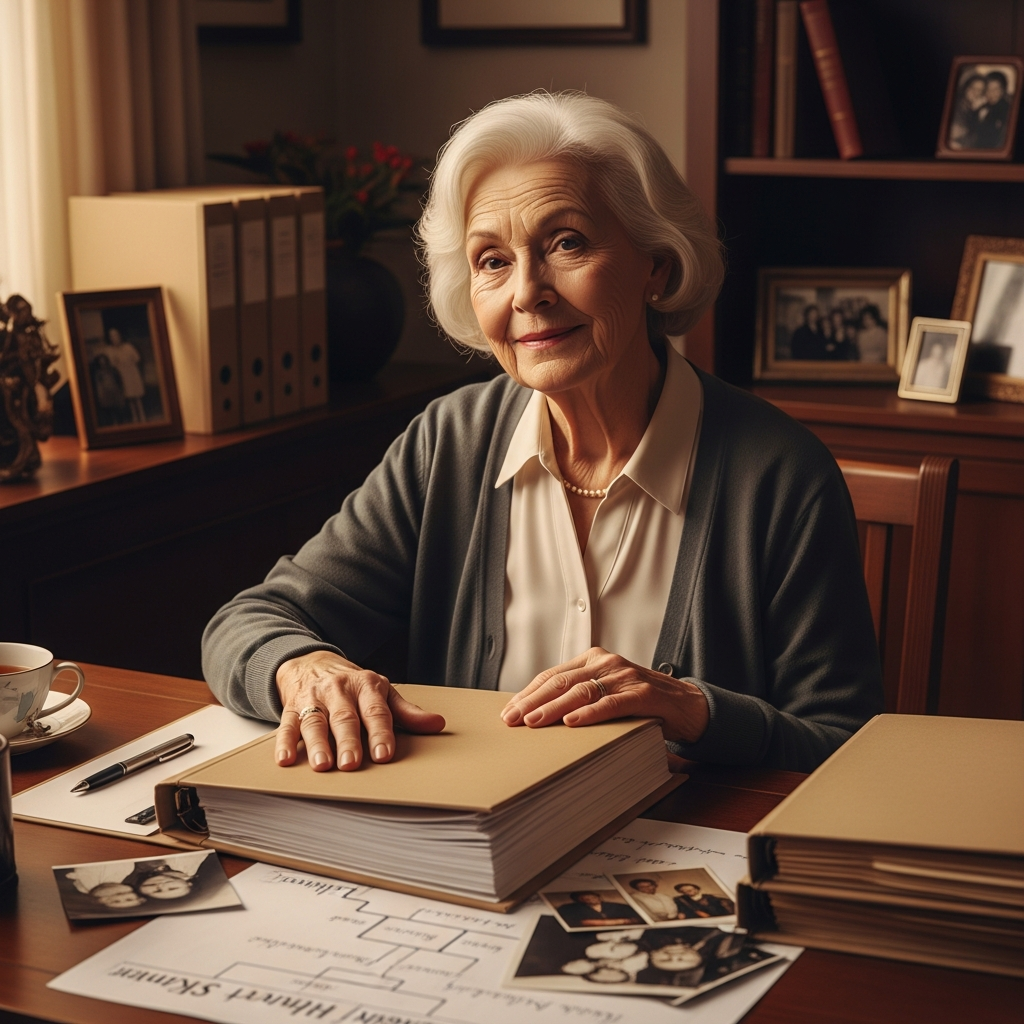
Mission 10: Blueprint for Your Own History Project — Genealogy 101 Capstone
Ten missions in, and we’ve come a long way from a dusty biscuit tin. Today we build the blueprint that turns everything you’ve discovered into a story worth keeping.
Where It All Began
It started, as so many things do, with a biscuit tin.
You’ll remember—or perhaps you’ve just arrived—that Granny did not set out to build a genealogy series. She set out to sort through a tin of photographs, a few letters she couldn’t quite bring herself to read, and one census sheet that listed a great-grandmother with a name nobody in the family had ever mentioned aloud.
That was the beginning.
Nine missions later, we have research logs and record-keeping habits, census pages and vital records, newspaper clippings and neighbor clusters, and the quiet satisfaction of knowing who our people were. We’ve built trees. We’ve filed before we forgot. We’ve survived the newspaper archives—and Cousin Karen still hasn’t forgiven us for making her interesting.
But here’s the thing about discovering stories: they don’t end when the research does. They end—really end—when someone sits down to tell them.
That’s what this final Genealogy 101 mission is about.
Your Blueprint, Your Project
You’ve done the work. Now let’s build the thing.
A family-history project doesn’t have to be a leather-bound tome with footnotes and an index. It can be a 15-page booklet printed at the library, a photo album with proper captions, or a shared folder your cousins actually open. What matters is that it exists—that it is finished, that it is yours, and that it doesn’t live only in your computer’s Downloads folder.
Step 1: Gather Your Evidence into Themes
Look back at what you’ve collected. You have census records, vital records, newspaper finds, and community connections. Don’t try to use everything. Ask what keeps coming up. Is it a particular family line? A place you keep returning to? A story that won’t leave you alone?
Start there. The heart of your project is usually the thing that got you into this in the first place.
Step 2: Define Your Scope and Audience
This is where beginners lose the plot—sometimes literally. It is perfectly acceptable to cover one person, one generation, or one decade. In fact, we recommend it. A 30-page story you finish will do more for your family than a 300-page draft that never leaves your hard drive.
Ask yourself two questions: Who is this for? When would I like to finish it?
If your audience is your immediate family, write for them. If your cousins are scattered across four states and three time zones, a downloadable PDF may be more useful than a book they have to order. Know your reader.
Step 3: Choose a Structure
There is no wrong answer. You can organize chronologically, following your family through time; by person, devoting a chapter to each ancestor; by place, tracing the roads your family traveled; or by theme—immigration, occupation, faith, or conflict.
What you cannot do is choose all four at once. Pick one. Start there. You can revise later.
Step 4: Create a Timeline with Milestones
Family-history projects aren’t written in a weekend. They’re built in 20-minute sessions on Tuesday evenings over several months. The secret to finishing is not genius—it is scheduling.
Give yourself six milestones:
- Outline complete.
- First draft written.
- Family review.
- Revisions done.
- Final proofread.
- Share or publish.
Assign each a rough target date. Write the dates down. Tell someone. That last part matters more than you think.
Step 5: Decide How to Share It
You have options ranging from free to modest in cost. A PDF shared through Google Drive works beautifully for digital families. Print-on-demand services such as Lulu or Blurb produce paperbacks, hardcovers, or photo books without requiring hundreds of copies upfront. An online tree can hold your research and connect you with relatives who didn’t know you existed.
There is no prestige in printing a thousand copies you didn’t need. There is enormous joy in handing someone a book with their grandmother’s name on the cover.
The Blueprint Workbook included with this mission contains a planning template, timeline grid, citation reminder, and publishing checklist. Download it. Fill it in. That is your first act of authorship.
Granny says:
“If you’ve made it through all ten missions, you’ve done more than most genealogists do in a year. What will your family-history project be about?”
The Keeper
We started with a biscuit tin and a census sheet.
What you have now is much more. You have names, dates, and places. You have the record of lives lived in full—lives that shaped you in ways you may never completely understand. You have evidence of people who worked, struggled, loved, and endured, and who left enough of a trail that someone—you—was willing to follow it.
That is not a small thing.
You’re not just finding ancestors; you’re preserving legacies.
Every story needs a keeper. Now you’re it.
Go build something worth keeping.
The grandmother who crossed an ocean with twelve dollars and a borrowed name. The great-uncle who farmed land that’s now a parking lot. The cousin who played piano in a dance hall that burned in 1934. When those people are gone, so are the stories—unless someone writes them down.
Coming Next: Genealogy 201
This concludes the Genealogy 101 series. Next, we move from gathering records to interpreting evidence—beginning with DNA.
Mission Downloads
- Blueprint Workbook (PDF)—planning template, timeline grid, citation reminder, and publishing checklist.